
The intersection of aesthetic brilliance and functional safety creates the foundation of a successful outdoor environment. While a landscape architect focuses on the visual harmony of perennials and the structural integrity of retaining walls, the logistical reality of maintaining such beauty involves the use of concentrated fertilizers, pesticides, and herbicides. Managing the lifecycle of these materials requires more than a simple shelf in a garage. It demands a sophisticated approach to environmental stewardship and hazard mitigation. Improper storage of garden chemicals can lead to soil contamination, the destruction of turfgrass, and catastrophic runoff into local water systems. By treating chemical storage as a critical component of the landscape design process, homeowners can preserve their curb appeal while ensuring the long term health of their ecosystem.
Climate considerations play a vital role in determining where and how these substances are kept. Extreme heat can cause pressurized canisters to fail, while freezing temperatures can lead to the crystallization and degradation of liquid NPK fertilizers. A professional approach treats the storage area as a functional hub, strategically located to minimize the distance to irrigation controls while remaining visually secondary to the primary landscape features. This balance between utility and beauty ensures that the necessary tools of the trade do not detract from the overall design goals of the site.
Landscape Design Principles
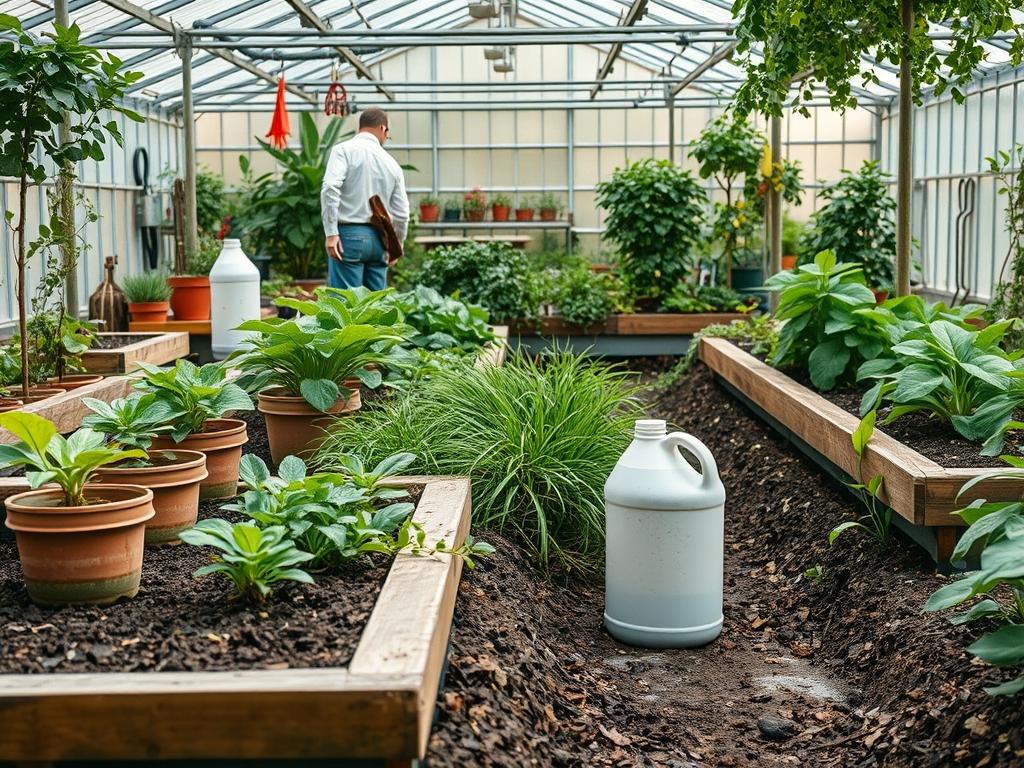
Integrating chemical storage into a professional landscape requires an adherence to the core principles of symmetry and visual balance. A storage unit should never be a focal point; it should be screened or tucked away using elevation layers. If a garden is designed with a formal layout, a lockable steel cabinet can be housed within a custom-built enclosure that mirrors the materials used in hardscaping, such as matching cedar or brickwork. This maintains the visual continuity of the space.
Elevation is a crucial factor when planning the site for chemical containers. Storage areas should always be located on high ground to prevent water from pooling around the base of the structure during heavy rain. Furthermore, the ground must be perfectly level to prevent containers from tipping. If the storage is located near a walkway, it should be positioned such that any accidental spill can be contained before it reaches the porous surfaces of flagstone or pavers.
Irrigation planning must also account for these zones. A dedicated concrete pad with a slight lip or perimeter drain is ideal for storage, ensuring that the surrounding soil is never saturated by the automated sprinkler system. This separation prevents chemicals from leaching into the ground if a leak occurs. By using focal points like a large ornamental tree or an architectural trellis, the architect can draw the eye away from the utility zone, maintaining the landscape’s elegance while keeping high potency materials within a convenient reach.
Plant and Material Selection
Selecting the right plant materials to screen storage areas or to tolerate the occasional environmental stress of a utility zone is essential. Use the following table to guide your selections for screening and perimeter planting near maintenance areas.
| Plant Type | Sun Exposure | Soil Needs | Water Demand | Growth Speed | Maintenance Level |
| :— | :— | :— | :— | :— | :— |
| Common Boxwood | Full Sun to Shade | Well-Drained | Moderate | Slow | Low |
| American Holly | Full Sun to Partial | Acidic/Moist | Moderate | Medium | Low |
| English Ivy | Partial to Shade | Versatile | Low | Fast | High |
| Japanese Yew | Partial Sun | Neutral | Low | Slow | Low |
| Privet Hedge | Full Sun | Any | Moderate | Fast | Moderate |
| Arborvitae | Full Sun | Loamy | Medium | Medium | Low |
For the storage structure itself, use non-porous materials. A heavy-duty polyethylene shed or a powder-coated metal locker is superior to wood, as wood can absorb chemical fumes and liquids over time. Ensure the flooring of the storage zone is made of non-sparking material to prevent ignition of flammable solvents.
Implementation Strategy
The transition from a design concept to a physical installation begins with proper grading. The area designated for chemical storage must be excavated to a depth of 4 inches, then filled with a compacted crushed stone base. This provides a stable, well-draining foundation. On top of this base, a concrete slab should be poured with a minimum thickness of 3 inches to support the weight of bulk bags and heavy liquid containers.
Once the foundation is set, professional edging should be installed to define the boundary between the utility pad and the surrounding mulch. A mulch depth of 3 inches is recommended for the adjacent garden beds to suppress weeds and retain moisture for the screening plants. When organizing the interior of the storage unit, use secondary containment trays for all liquid products. These trays, typically made of high-density plastic, are designed to catch any drips or leaks, preventing them from reaching the floor.
Labels must be kept intact and facing forward. Use permanent markers to date each container upon purchase. All chemicals should be stored at least 12 inches off the ground on reinforced shelving to protect them from moisture and pests. Finally, ensure that the site has a dedicated drainage plan, such as a localized French drain, to redirect excess heavy rainfall away from the chemical housing structure.
Common Landscaping Failures
The most frequent mistake in landscape management is poor drainage around utility areas. When water is allowed to stagnate near fertilizer or pesticide storage, the high humidity can corrode metal cans and degrade paper sacks, rendering seeds and powders useless. Soil compaction is another significant issue; if the ground around the storage area is compacted by frequent foot traffic, it prevents oxygen from reaching the roots of nearby screening plants, leading to stunted growth or death.
Root overcrowding occurs when large shrubs are planted too close to the storage foundation in an attempt to hide it. Over time, aggressive root systems can uplift a concrete pad, causing the storage unit to tilt and creating a safety hazard. Improper spacing also inhibits airflow, which can lead to mold and mildew buildup inside the storage shed.
Finally, irrigation inefficiencies can cause disaster. Many homeowners inadvertently aim rotor heads directly at storage doors or ventilation louvers. This constant exposure to water results in rusted locks and ruined inventories. A professional landscape plan includes a buffer zone where irrigation is strictly controlled through drip emitters rather than spray heads, keeping the storage environment bone dry.
Seasonal Maintenance
Landscape management shifts with the changing seasons, and chemical storage requirements follow suit. In the spring, conduct a full inventory. Check for expired herbicides and dispose of them through local hazardous waste programs. This is also the time to inspect the integrity of sprayers and measuring cups, ensuring no cracks developed over the winter.
During the summer, the focus turns to heat management. Ensure that the ventilation on your storage unit is clear of debris or insect nests. High temperatures can cause volatile liquids to expand, so check for bulging containers. Ensure your safety goggles and nitrile gloves are stored in a cool, dry place to prevent the material from becoming brittle.
Autumn is the season for stabilization. Liquids that are susceptible to freezing should be moved to a temperature controlled environment, such as a heated garage, rather than an outdoor shed. Clean all applicators and spreaders before the final winter storage to prevent chemical residue from hardening.
In the winter, verify that the storage unit remains watertight. Heavy snow loads can damage the roof of light-weight sheds, so clear accumulation promptly using a polypropylene snow shovel. Check the perimeter for signs of rodent activity; rodents often seek shelter in utility sheds and can chew through bags of grass seed or plastic jugs, creating a mess and a safety risk.
Professional Landscaping FAQ
Where is the safest place to store garden chemicals?
They must be kept in a cool, dry, and well-ventilated area that is lockable to prevent unauthorized access. A dedicated outdoor locker on a raised concrete pad is generally the best professional solution for modern landscapes.
How should I organize different types of chemicals?
Always separate chemicals by type, such as keeping fertilizers away from flammable solvents. Never store liquids directly above dry powders, as a leak could contaminate the entire inventory and potentially cause a dangerous chemical reaction.
Can I store chemicals in my basement?
It is generally discouraged due to the risk of fumes entering the home ventilation system. If you must store them indoors, ensure the area is isolated, well-ventilated, and kept far away from any furnace or ignition sources.
What is the best way to handle a chemical spill?
Keep a spill kit nearby containing absorbent clay or cat litter. Do not use water to wash away a spill, as this allows the chemicals to enter the drainage system and contaminate the local groundwater.
How often should I check my chemical inventory?
Perform a thorough inspection at least twice a year during seasonal transitions. Look for signs of container degradation, fading labels, or product clumping, and ensure all containers are securely sealed to prevent evaporation or moisture entry.