
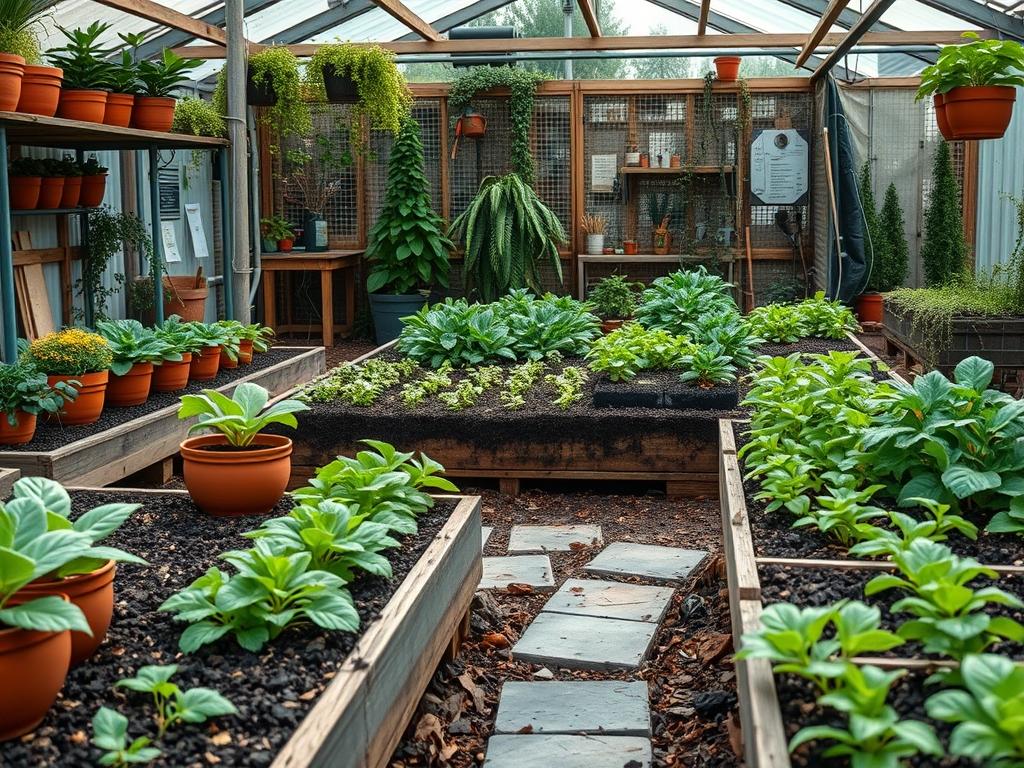
Integrating roses into a sophisticated landscape design requires more than an eye for color; it demands a technical understanding of pathological prevention. Black spot, caused by the fungus Diplocarpon rosae, remains the most significant threat to the aesthetic integrity of high end rose gardens. In the realm of professional landscaping, managing this pathogen is not merely a maintenance task but a foundational design requirement. A rose bush defoliated by black spot ruins the curb appeal of a multi million dollar estate, turning a focal point into an eyesore. Therefore, the architectural planning phase must prioritize airflow, light penetration, and moisture management. Successful outdoor living environments blend form and function, ensuring that the selected flora can thrive within the specific microclimate of the site.
Effective Black Spot Management begins with site analysis. We evaluate the prevailing wind patterns and solar orientation to ensure that roses receive at least six to eight hours of direct sunlight. Morning sun is particularly critical, as it evaporates the dew that settles on foliage overnight, depriving fungal spores of the moisture they need to germinate. In regions with high humidity or frequent rainfall, the landscape architect must design gardens that promote rapid drying. This involves considering the elevation of the planting beds and the proximity of surrounding structures or dense hedges that might create stagnant air pockets. By treating the garden as a dynamic system of fluid dynamics and thermal regulation, we can significantly reduce the need for chemical interventions.
Landscape Design Principles
Symmetry and visual balance are the hallmarks of a well planned rose garden, yet these must be balanced with the physiological needs of the plants. To prevent the spread of black spot, we avoid dense, monocultural groupings. Instead, we use elevation layers and focal points to create separation. Planting roses on raised mounds or within Retaining walls built from Natural Stone or Cast Concrete improves drainage and elevates the plants into the path of moving air. When roses are at waist height, they benefit from better circulation than when they are tucked into low, recessed areas where cold, damp air tends to settle.
Airflow is further enhanced by the strategic placement of hardscaping elements. Designing wide Stone walkways or Gravel paths between rose beds acts as a functional breezeway. These non porous or semi porous surfaces do not hold moisture the way turfgrass does, reducing the ambient humidity around the shrubs. Furthermore, we employ the principle of “transparency” in our planting schemes. By selecting companion plants with fine textures, we ensure that the rose remains the centerpiece without being crowded by heavy, broadleaf competitors that trap moisture against the rose stems.
The use of verticality also plays a role in disease suppression. Training climbing roses on a Steel Trellis or an Arbor allows for maximum exposure to sun and wind. This vertical orientation prevents the “leaf to leaf” contact that facilitates the rapid spread of fungal spores during a rain event. When planning the irrigation for these areas, we strictly avoid overhead systems. Instead, we integrate Subsurface Drip Irrigation lines that deliver water directly to the root zone, keeping the canopy dry and hostile to fungal colonization.
Plant and Material Selection
| Plant Type | Sun Exposure | Soil Needs | Water Demand | Growth Speed | Maintenance Level |
| :— | :— | :— | :— | :— | :— |
| Knock Out Roses | Full Sun | Well-drained Loam | Moderate | Fast | Low |
| Hybrid Tea Roses | Full Sun | Nutrient Rich | High | Medium | High |
| Floribunda Roses | Full Sun | Organic Matter | Moderate | Medium | Medium |
| French Lavender | Full Sun | Sandy/Gravelly | Low | Medium | Low |
| Walker’s Low Catmint| Full/Partial | Average Soil | Low | Fast | Low |
| Hardwood Mulch | N/A | Weed Barrier | Retains Moisture| N/A | Annual Refresh |
| Coarse Sand | N/A | Drainage Layer | N/A | N/A | Permanent |
Implementation Strategy
The transition from a design on paper to a physical landscape requires meticulous attention to soil physics and grading. We begin by establishing a 2 percent grade away from the house and the primary garden beds to ensure that excess surface water does not pool near the rose crowns. If the native soil is heavy clay, we excavate to a depth of 18 inches and backfill with a custom soil blend consisting of 60 percent topsoil, 30 percent organic compost, and 10 percent coarse sand. This mixture provides the structural porosity necessary for rapid drainage, which is the first line of defense against most rose diseases.
Once the grading is complete, we install Plastic or Metal Edging to define the beds and prevent the encroachment of invasive turfgrass. Edging serves a dual purpose: it maintains the clean lines of the landscape and creates a containment zone for Mulch. We apply a 3 inch layer of double-shredded hardwood mulch or Pine Bark Nuggets across the entire bed. Mulch acts as a physical barrier, preventing fungal spores present in the soil from splashing up onto the lower leaves during heavy rain. It also regulates soil temperature and suppresses weeds that might compete for nutrients and airflow.
Proper spacing is the final step in the implementation phase. For standard rose shrubs, we maintain a minimum of 36 inches between the centers of each plant. This gap ensures that as the bushes reach their mature width, there remains a clear channel for air to move through the garden. During the planting process, we use a Spade to create a hole twice as wide as the root ball. We often incorporate a handful of Bone Meal or a Mycorrhizal Inoculant into the bottom of the hole to stimulate deep root development, which helps the plant withstand the stress of potential fungal infections.
Common Landscaping Failures
The most frequent error in rose garden management is the installation of overhead spray irrigation. When water hits the foliage, it provides the perfect medium for black spot spores to move and infect new leaves. Professional landscapes must always utilize Drip Emitters or Soaker Hoses. Another common failure is over-crowding. Homeowners often desire an “instant” full look and plant shrubs too close together. Within two seasons, the lack of light and air in the center of the mass leads to a massive outbreak of black spot that can spread to the entire collection.
Soil compaction is another silent killer of rose health. When heavy equipment is used during construction without subsequent aeration, the soil loses its oxygen carrying capacity. Roses in compacted soil become stressed and are far more susceptible to pathogens. Additionally, many designers forget the importance of sanitation. Failing to remove fallen leaves in the autumn allows the fungus to overwinter in the soil, leading to an immediate reinfection the following spring. Finally, excessive use of high nitrogen fertilizers can cause a rush of succulent green growth that is tender and easily penetrated by fungal hyphae.
Seasonal Maintenance
Spring is the season for proactive intervention. As soon as the buds begin to swell, we use Bypass Pruners to remove any dead, damaged, or crossing canes. We aim for an “open center” or vase shape, which maximizes the penetration of light into the middle of the shrub. This is also the time to apply a dormant spray, such as Lime Sulfur or Neem Oil, which kills any lingering spores on the canes. We refresh the Mulch to ensure a clean barrier is in place before the spring rains arrive.
During the summer months, maintenance shifts to monitoring and precise irrigation. If any black spot appears, the infected leaves must be hand-picked and disposed of in the trash, never in the compost pile. We use a Soil Probe to check moisture levels, ensuring the roses receive roughly 1 inch of water per week delivered at the base. High summer is also the time to deadhead spent blooms, which keeps the bush’s energy focused on health rather than seed production.
In autumn, the primary goal is sanitation. We rake up every fallen leaf and prune back long, whip like canes that might whip around in the winter wind and damage the plant’s structure. We avoid heavy pruning at this time, as it could encourage new growth that would be killed by the first frost. In winter, we focus on the hardscape. We inspect Retaining walls and Drainage grates to ensure they are clear of debris. Once the roses are fully dormant, a final application of a copper based fungicide can provide a protective layer for the coming year.
Professional Landscaping FAQ
How does airflow affect black spot incidence?
Airflow reduces leaf wetness duration by accelerating evaporation. Fungal spores require several hours of continuous moisture to infect a leaf. Strategically spaced plants and open garden designs prevent the stagnant, humid conditions that allow black spot to flourish and spread quickly.
What is the best mulch for rose beds?
A 3 inch layer of shredded hardwood mulch or pine bark is ideal. It prevents soil splashing, which is the primary way fungal spores reach the foliage. It also breaks down slowly, adding organic matter to the soil while suppressing opportunistic weeds.
Can I grow roses in partial shade?
While some varieties tolerate lower light, most roses require at least six hours of full sun. Shaded roses stay wet longer after rain or dew, significantly increasing the risk of black spot. Sunlight also strengthens the plant’s cellular structure against infection.
Why is drip irrigation superior for roses?
Drip Irrigation delivers water directly to the root zone at a low pressure. This keeps the foliage completely dry. Since black spot spores are waterborne and require wet leaves to germinate, keeping the canopy dry is the most effective preventative measure.
When should I prune for disease control?
Major pruning should occur in early spring to remove infected canes and open the plant’s center. However, you should remove any leaves showing black spots immediately throughout the growing season. Use 70 percent isopropyl alcohol to sanitize your tools between different plants.