
Designing a cohesive outdoor environment requires a delicate balance between aesthetic appeal and functional ecosystem management. One of the most significant challenges for high end residential landscapes is the management of nocturnal insect populations, specifically those that transition from harmless night fliers to destructive larvae. Light trap pest control represents a sophisticated intersection of electrical engineering and horticultural maintenance. When integrated correctly, these systems protect valuable ornamental specimens while preserving the nighttime ambiance of a well lit estate. Homeowners often invest heavily in curb appeal through intricate lighting and rare plantings, only to find their hard work compromised by seasonal moth infestations that strip foliage. By treating pest control as an architectural element rather than an after-thought, a landscape designer can ensure the longevity and health of the entire site.
Sustainable outdoor living demands a climate sensitive approach. In temperate regions, the arrival of warmer nights signals the peak activity for many moth species, including the dreaded tomato hornworm moth and several varieties of cutworms. These pests are naturally drawn to the very lights used to highlight Specimen Trees and Architectural Facades. Consequently, a poorly planned lighting scheme can inadvertently invite a biological invasion. A professional consultant views the placement of light trap pest control as a strategic maneuver. It involves diverted attraction, where the primary lure is positioned far enough from social zones to keep guests comfortable, yet close enough to vulnerable plant beds to intersect the pests before they deposit eggs. This requires a deep understanding of site topography, wind patterns, and the specific biology of the local fauna.
Landscape Design Principles
Symmetry and visual balance are the hallmarks of professional landscape architecture. When incorporating light trap pest control, these traps should not disrupt the visual flow of the garden. Instead, they should be masked within the property’s vertical layers. Elevation plays a key role here. By placing traps at varying heights, a designer can target different species. For instance, owlet moths often hover near ground cover, while larger sphingids may stay higher among the canopy. Utilizing Retaining Walls to house recessed LED traps allows for a seamless look that maintains the clean lines of a modern hardscape.
Focal points are essential for directing the eye, but they should never be the pest control units themselves. Use Ornamental Grasses or Boxwood Hedges to create a visual screen around the base of a trap. This technique hides the collection chamber while allowing the ultraviolet light to broadcast unhindered. Furthermore, the integration of walkways should consider the light trap’s influence. One must ensure that the path to a trap for maintenance is clear and safe, utilizing Crushed Granite or Standard Pavers to prevent soil compaction in the surrounding area. Proper irrigation planning is equally vital. Light traps are electrical components; therefore, they must be situated away from direct high pressure spray heads. Drip irrigation systems are preferred in these zones to maintain plant health without risking a short circuit or mineral buildup on the trap’s translucent housing.
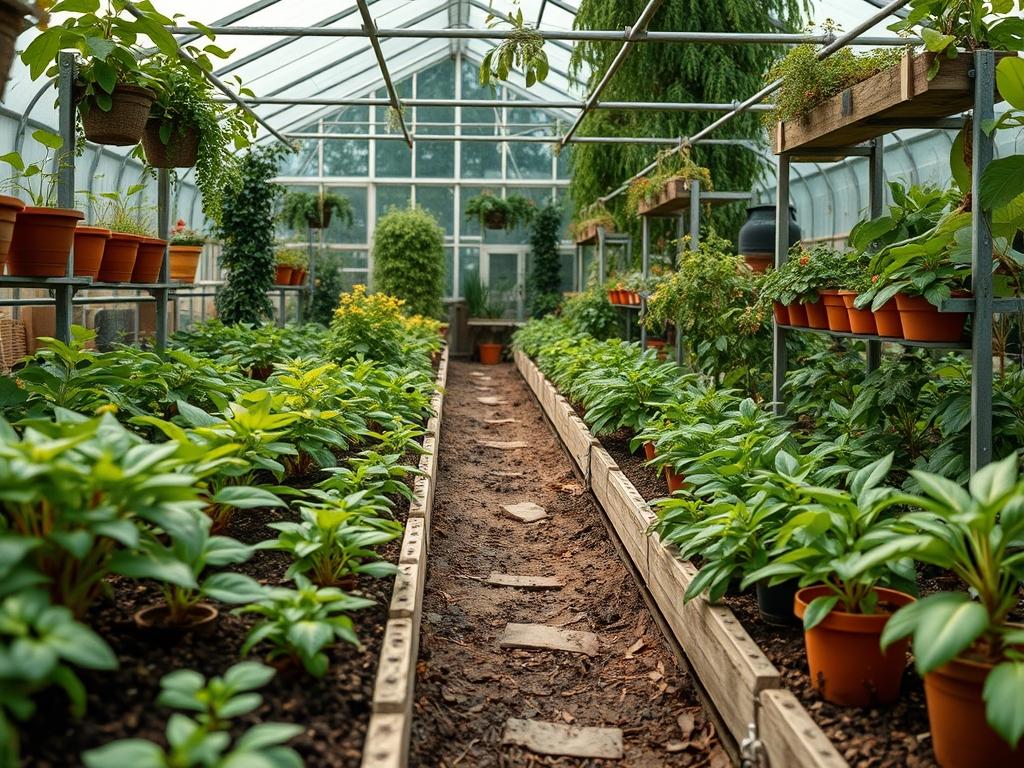
Plant and Material Selection
The following table outlines plants that complement a pest management focused landscape. These choices are selected for their resilience and their role in a balanced nocturnal ecosystem.
| Plant Type | Sun Exposure | Soil Needs | Water Demand | Growth Speed | Maintenance Level |
| :— | :— | :— | :— | :— | :— |
| Lavender | Full Sun | Well-Drained | Low | Moderate | Low |
| Moonflower | Full Sun/Part Shade | Loamy | Medium | Fast | Moderate |
| Night Jasmine | Full Sun/Part Shade | Rich/Moist | Medium | Moderate | High |
| Sweet Tobacco | Full Sun/Part Shade | Well-Drained | Medium | Fast | Low |
| Native Milkweed | Full Sun | Varied | Low | Fast | Medium |
| Gardenia | Partial Shade | Acidic | High | Slow | High |
Selecting the right materials for the surrounding landscape is just as important as the plants. Use Hardwood Mulch at a depth of 2 to 3 inches to regulate soil temperature and moisture around the base of peripheral traps. Avoid the use of light colored gravel directly under an ultraviolet light source, as the reflection can confuse the directional sensors of many night moths, reducing the trap’s total efficiency.
Implementation Strategy
The successful deployment of light trap pest control begins with a comprehensive site survey. Start by identify the direction of the prevailing summer breeze. Moths often travel with the wind, so placing traps on the windward side of high value gardens acts as a first line of defense. The next step is grading. Ensure the area where the trap is mounted is slightly elevated to prevent water from pooling around the electrical conduit. A slight 2 percent grade away from the trap base will suffice.
When installing the hardscape portion of the project, use PVC Piping buried at least 18 inches deep to run wires for permanent light traps. This protects the lines from aeration tools or accidental shovel strikes. Create a designated maintenance pad using Natural Stone or Concrete Pavers so that the technician can empty the trap without trampling the delicate Root Systems of nearby perennials. Edging is another critical component. Use Steel Edging or Bender Board to create a crisp transition between the turf and the trap’s mulch bed. This prevents invasive grass from creeping into the trap’s mechanism and simplifies the task of line trimming, which can otherwise damage the trap’s exterior housing if done carelessly.
Common Landscaping Failures
The most frequent mistake in pest management landscaping is improper spacing. If traps are placed too close to the plants they are meant to protect, the intense light can actually draw more pests to the foliage than the trap can capture. This “lure effect” can lead to localized defoliation. A professional rule of thumb is to place the light trap approximately 20 to 30 feet away from the primary garden beds. Another failure is ignoring drainage. Improperly drained soil leads to compaction and fungal growth; this stressed environment produces chemical signals that actually attract pests like moths and beetles from the surrounding area.
Soil compaction is a silent killer in many high traffic areas. When soil is squeezed tight, oxygen cannot reach the roots, and the plant’s natural defenses drop. This makes the vegetation an easy target for nocturnal larvae. We also see many failures regarding irrigation timing. Overhead watering at dusk can interfere with the light trap’s effectiveness and create a humid microclimate that favors moth egg survival. Always calibrate Automatic Irrigation Timers to fire in the early morning hours, allowing the sun to dry the leaves before evening moth activity begins.
Seasonal Maintenance
Landscape management is a year round commitment. In the spring, the focus should be on cleaning the trap housings and checking the electrical connections. As the ground thaws, inspect the Retaining Walls and Walkways for any shifting that might have affected the alignment of your light traps. This is the time to apply a fresh layer of Bark Mulch to ensure moisture retention for the upcoming heat.
Summer requires weekly inspections of the light trap collection chambers. During peak moth season, traps can fill quickly. Check the Lumen Output of the bulbs; ultraviolet lamps often lose their pest attracting wavelength long before the visible light actually burns out. In the autumn, shift focus to sanitation. Remove any dead plant matter or fallen fruit, as these provide overwintering sites for moth larvae and pupae. Finally, winter maintenance involves securing portable traps or covering permanent fixtures in regions with heavy snowfall. Ensure all drainage swales and French Drains are clear of debris to prevent ice damming near electrical components.
Professional Landscaping FAQ
Where is the best place to install a light trap?
Install traps approximately 25 feet away from social areas and vulnerable plants. Position them in open areas where the light is visible from multiple angles. This ensures the pests are intercepted before they reach your prized landscape specimens.
Does mulch depth affect pest populations?
Yes. Maintaining 2 to 3 inches of mulch suppresses weeds and keeps soil healthy. However, excessively deep mulch can house pupating moths. Always keep mulch a few inches away from the base of the light trap and tree trunks.
Are light traps better than chemical sprays?
In an integrated pest management system, light traps are a physical control method. They reduce the need for broad spectrum insecticides, which can harm beneficial pollinators like bees. They provide a continuous, low impact solution for night flying pests.
How often should I change the bulbs in my traps?
Bulbs should generally be replaced every season. Even if they appear bright, the specific ultraviolet frequency required for Light Trap Pest Control degrades over time. Consult the manufacturer guidelines for the specific Lumen and wavelength requirements of your unit.
Can I run my light traps on a solar timer?
Solar timers are excellent for energy efficiency. Ensure the solar panel receives full sun during the day to power the trap throughout the night. Most traps are most effective from dusk until midnight, when moth activity peaks.